Are you sick and tired of the annoying composite pull back experience cutting into your efficiency? This is something every dentist deals with - at least until they optimize their dental composite instruments set up procedure!
Today, we will guide you through a more effective, efficient composite tray set up instruments solution that will supercharge your speed and efficiency as you place and shape composite. With the help of a few instruments from ArtCraft Dental, you’ll make quick work of what used to be a complicated, annoying procedure.
First, let’s talk about why fine-tuning your set up for composite work is so important in the first place to set the stage for the rest of our conversation.
The Importance of a Proper Composite Instruments Set Up
If you’re a seasoned dental professional who can track exactly how much time you’ve wasted over the course of your career working with tacky composite materials and lackluster instruments, we likely don’t have to tell you just how important an optimal setup is.
The pull-back issues often require multiple instrument adjustments and attempts to place the composite material precisely. This leads to longer procedure times, increasing the likelihood of patient discomfort and reducing overall productivity.
By investing in proper composite instruments set up, dentists can avoid these time-consuming complications and improve their efficiency during restorative procedures. But, the issue of suboptimal dental composite tray set up instruments goes beyond productivity. These setups can also contribute to contamination.
When the cheap dental tool is not releasing the composite material smoothly, it can inadvertently introduce air bubbles or foreign particles into the restoration. These contaminants can compromise the bond strength between the composite and the tooth structure, leading to a higher risk of restoration failure, sensitivity, or secondary caries.
A proper composite instruments set up eliminates these risks by providing a smooth, controlled application of the composite material, ensuring that restorations are both aesthetically pleasing and durable. And below, we’ll guide you through a composite instruments set up you can rely on in your practice.
A Dental Composite Instruments Set Up That Eliminates Pull Back & Speeds Your Workflow Up
With over 40 years of experience in dentistry, we’re all too familiar with that frustrating pull back that compromises your efficiency and restoration quality. At a certain point, enough is enough - you need to upgrade dental instruments and fine-tune your setup! That’s exactly what we’ll discuss below as we breakdown how you should be going about this procedure. First things first - here’s what you need:
The Components That Make Up This Simple, Straightforward Workflow
At ArtCraft Dental, we’ve taken it upon ourselves to transform the dental industry for the better by inventing solutions that have been desperately lacking. Our founder - Dr. David Fyffe - has earned multiple patents over his career for his inventions - and you’ll use a few of them in your new composite shaping/placing workflow.
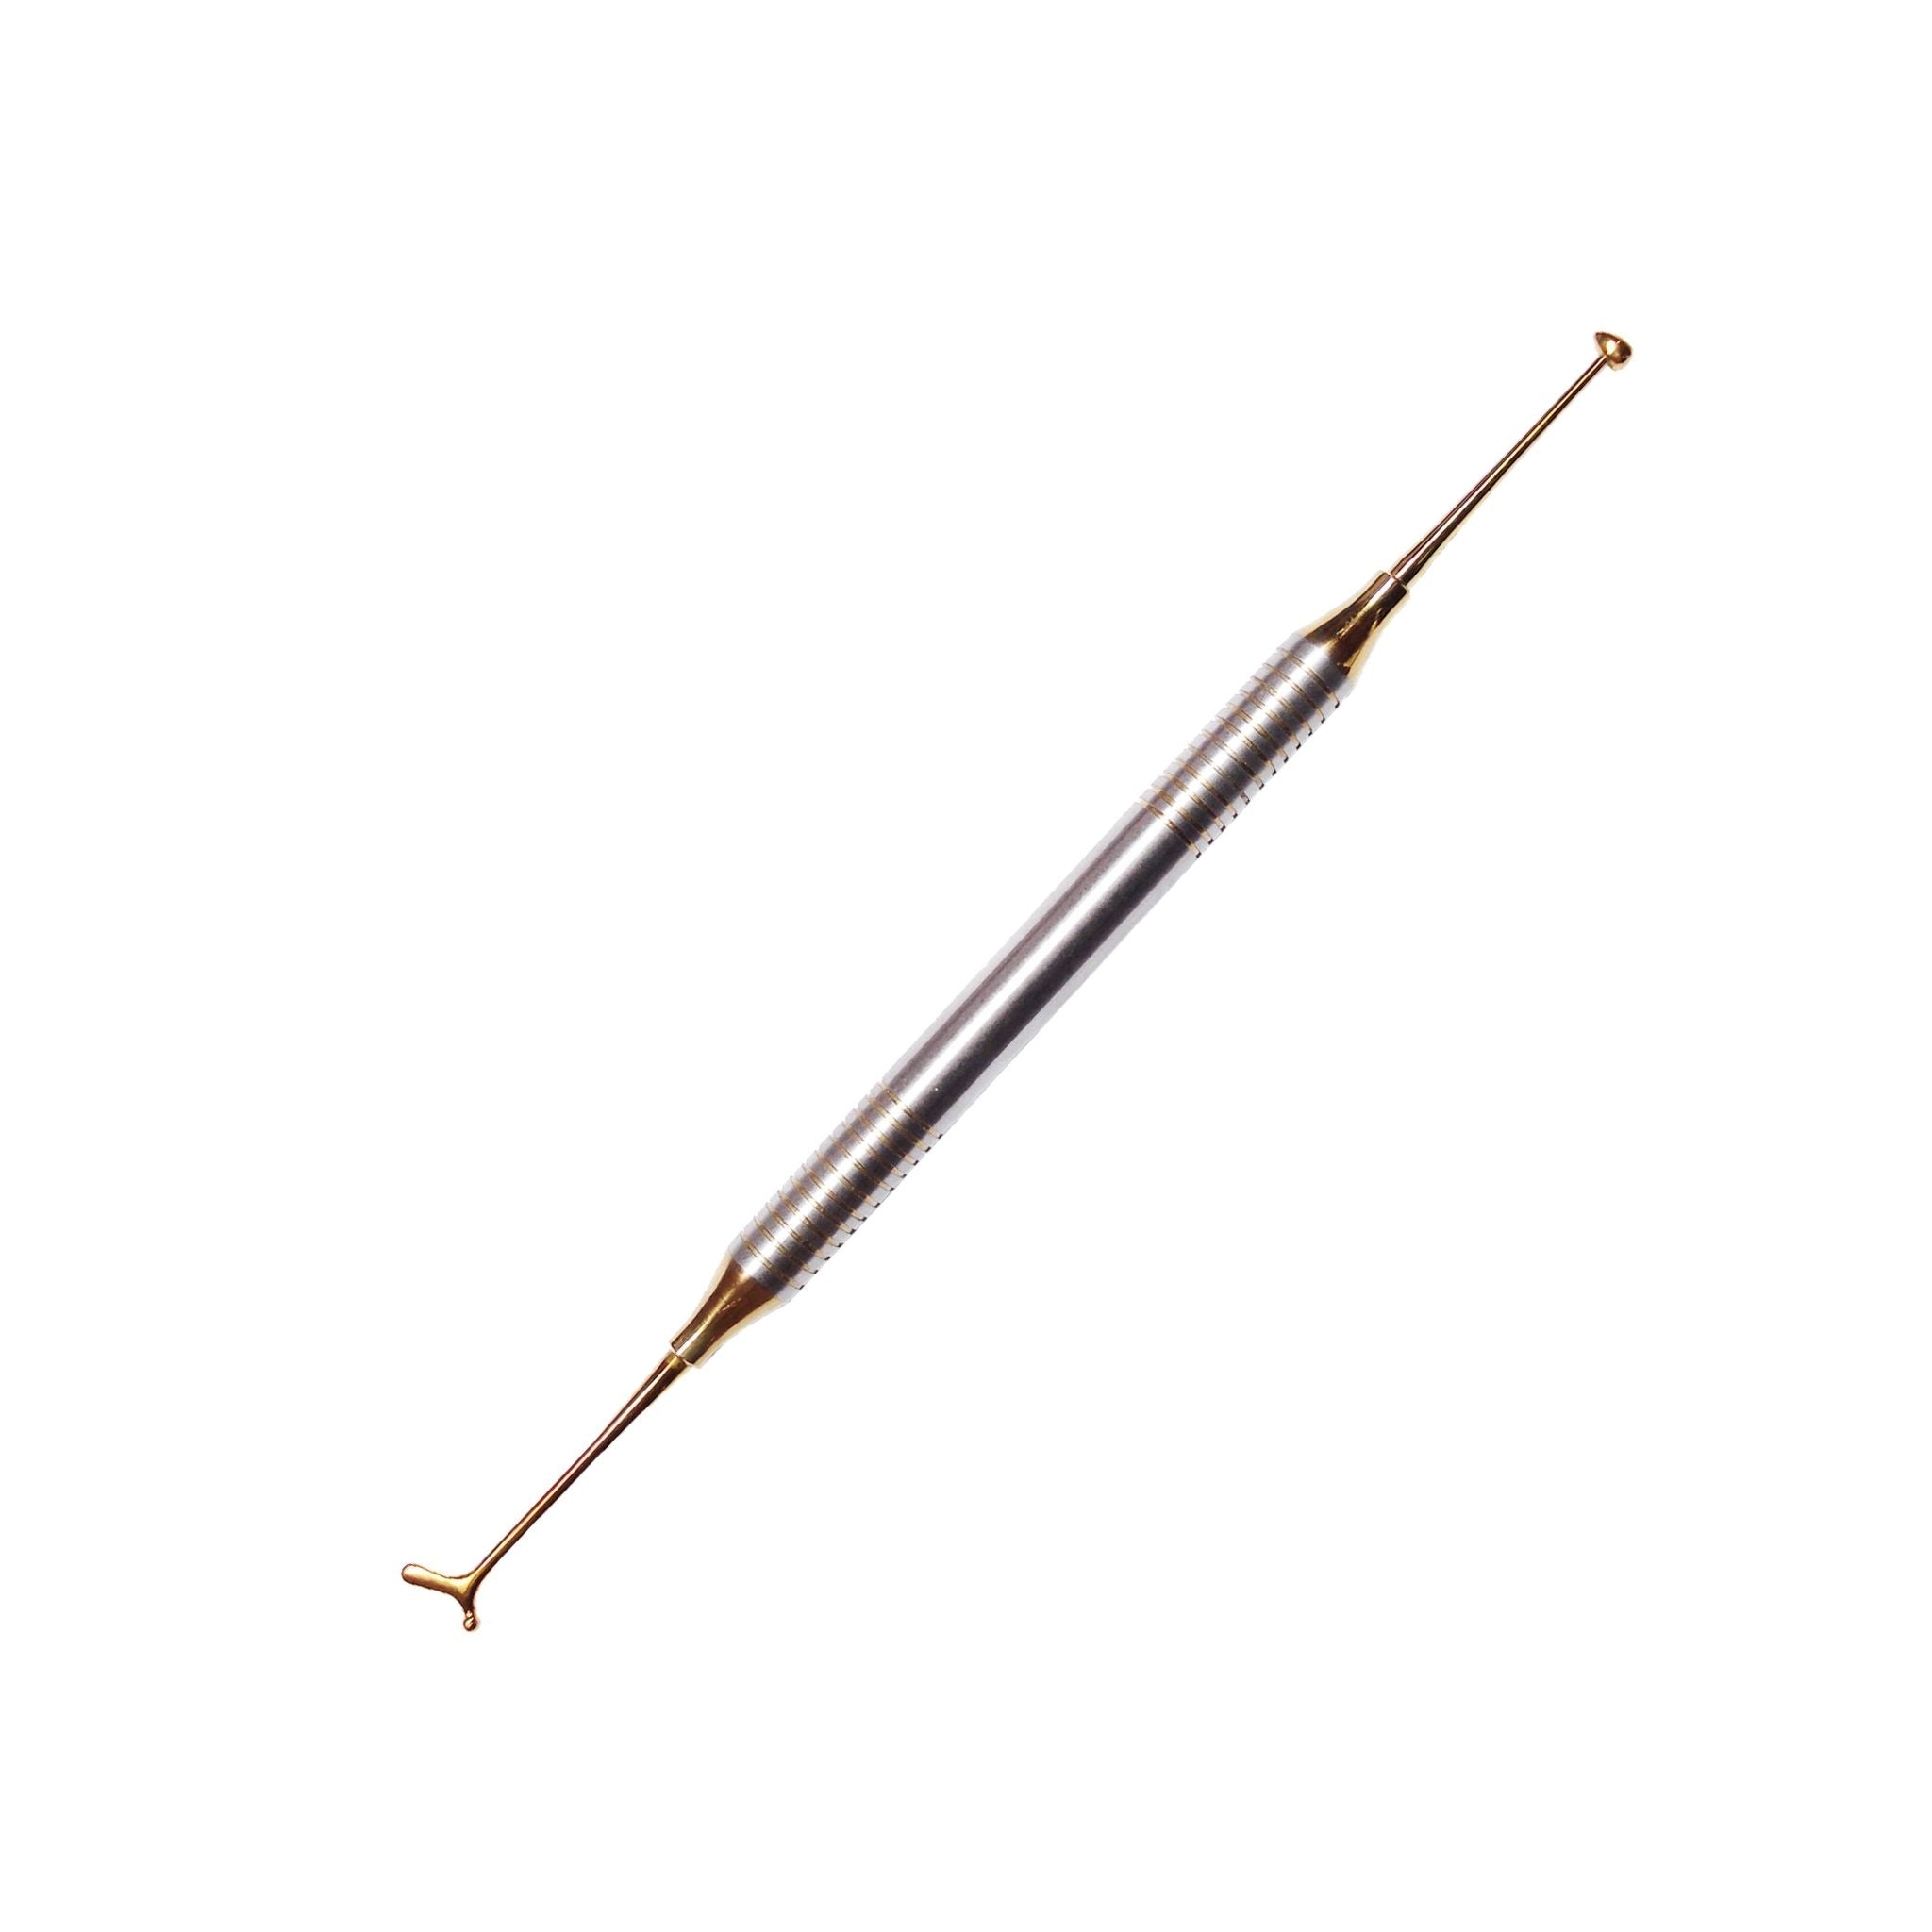
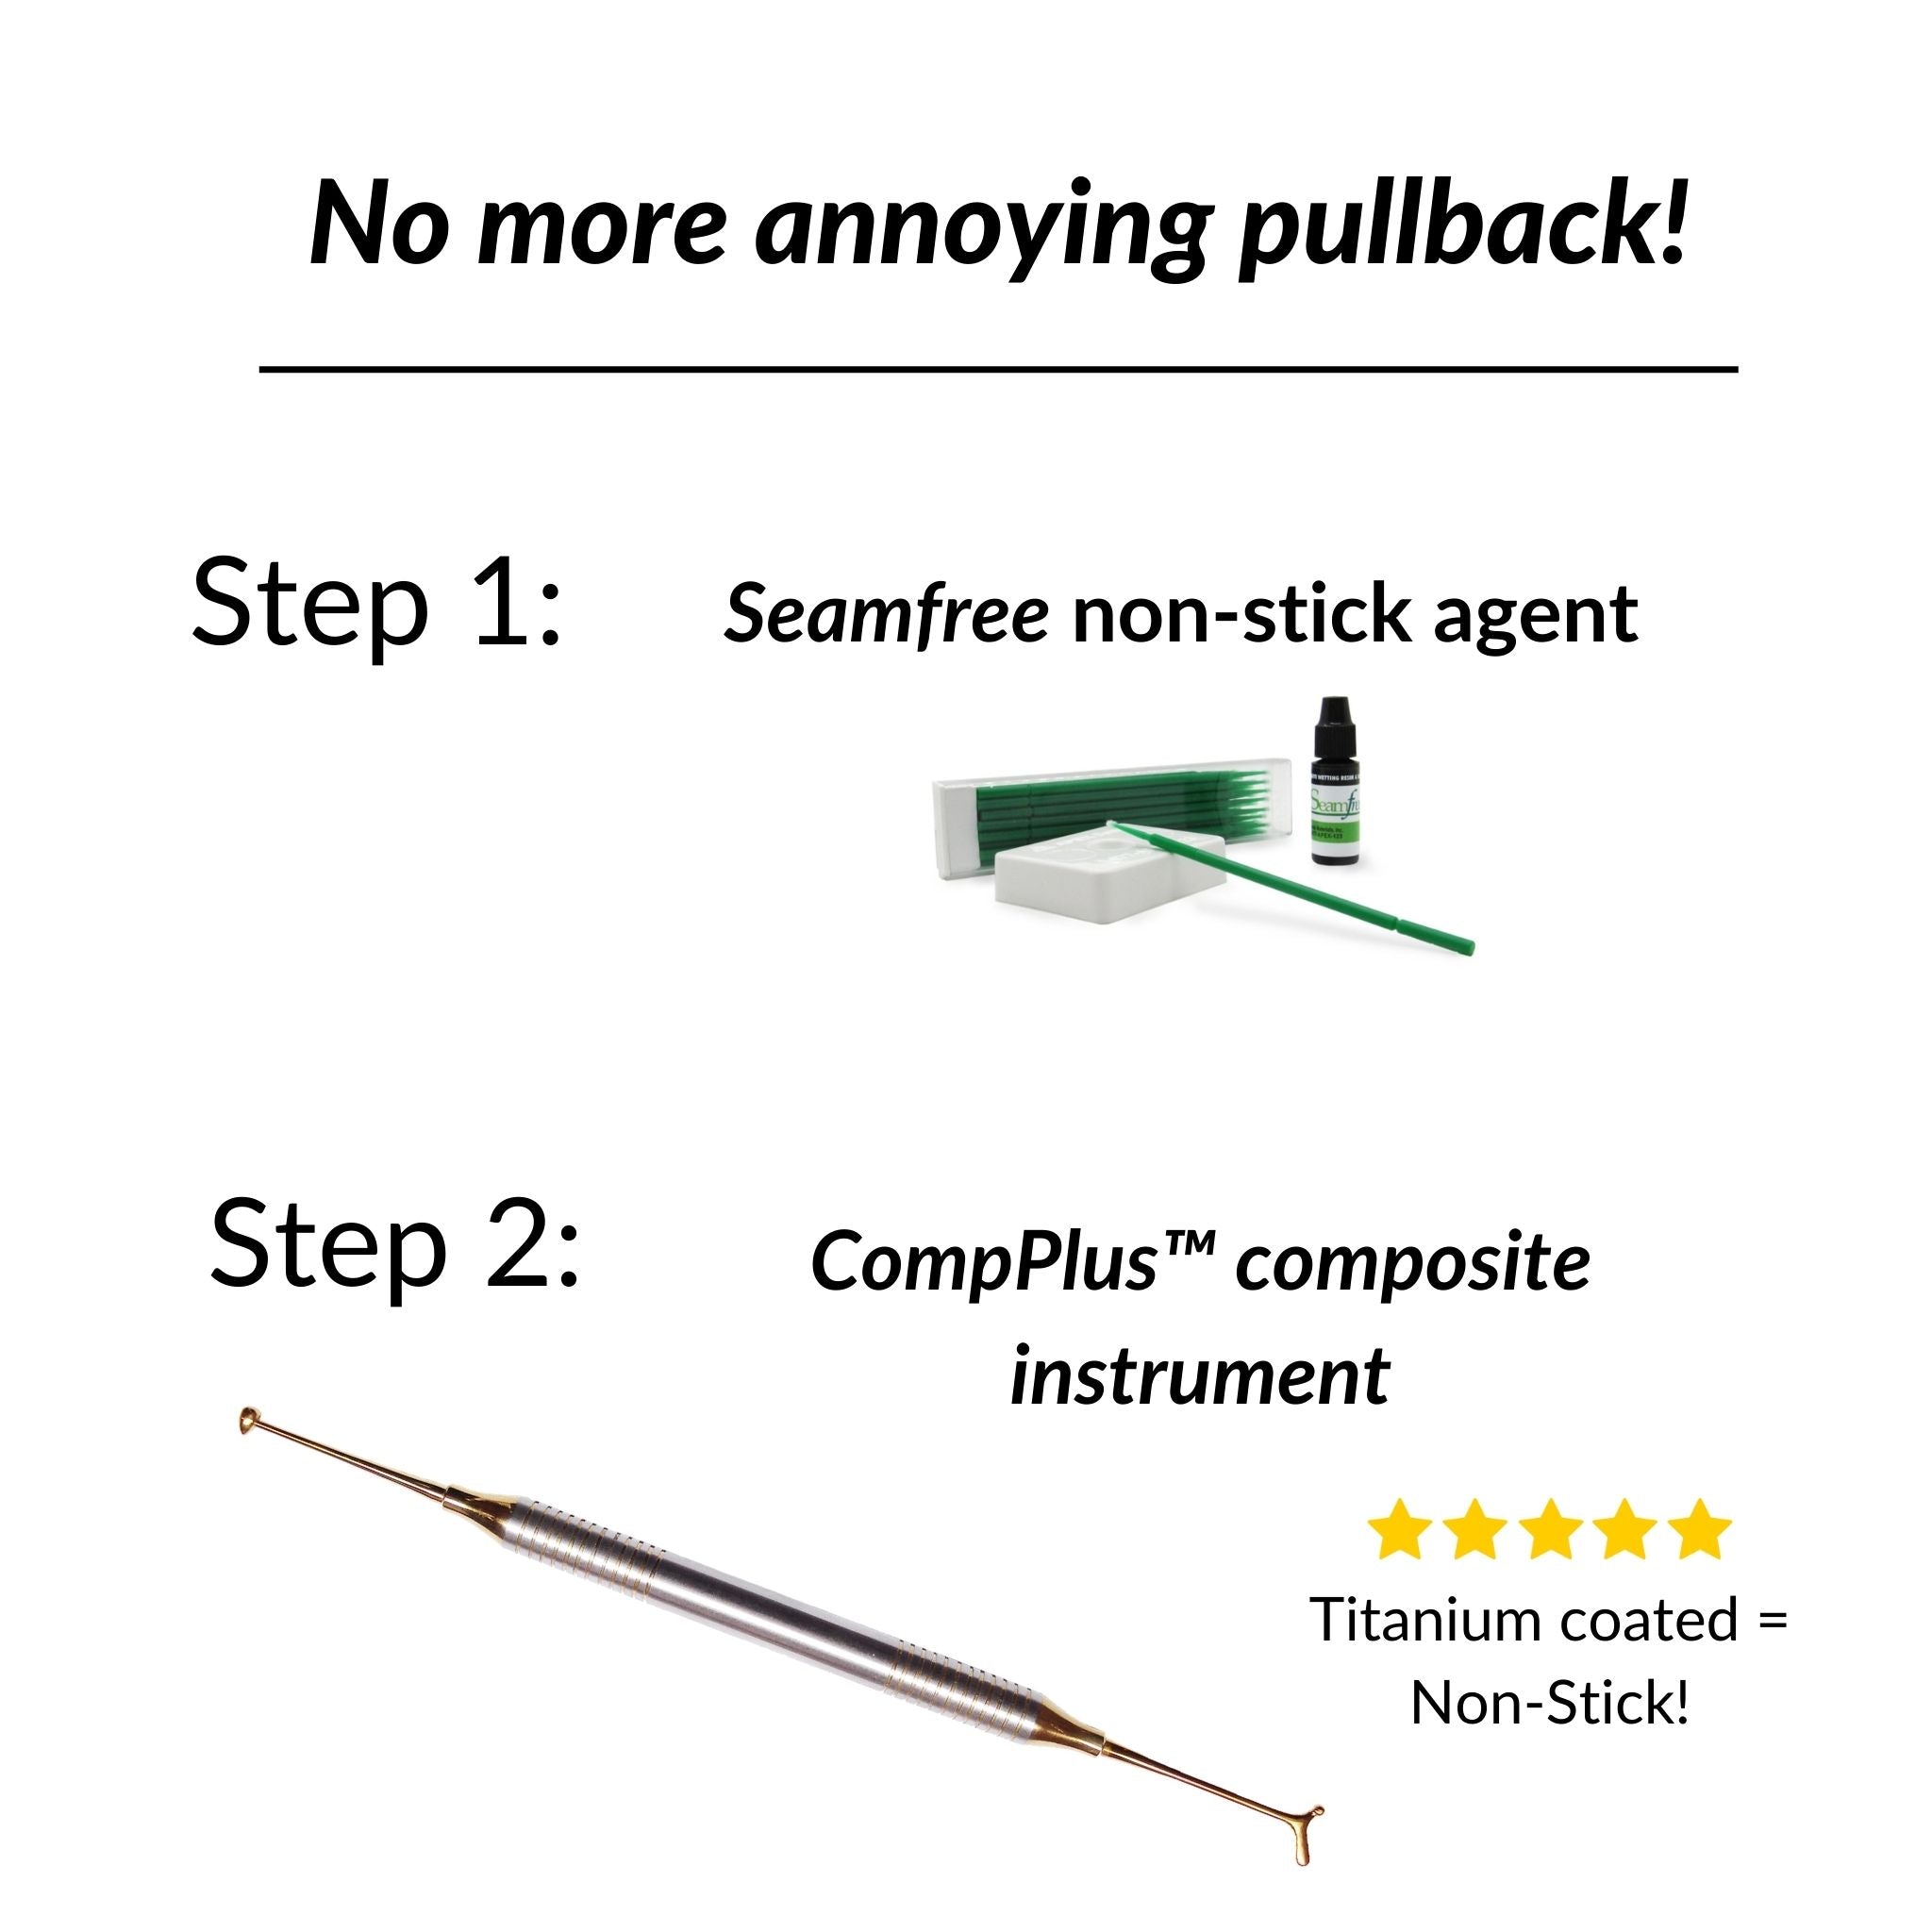
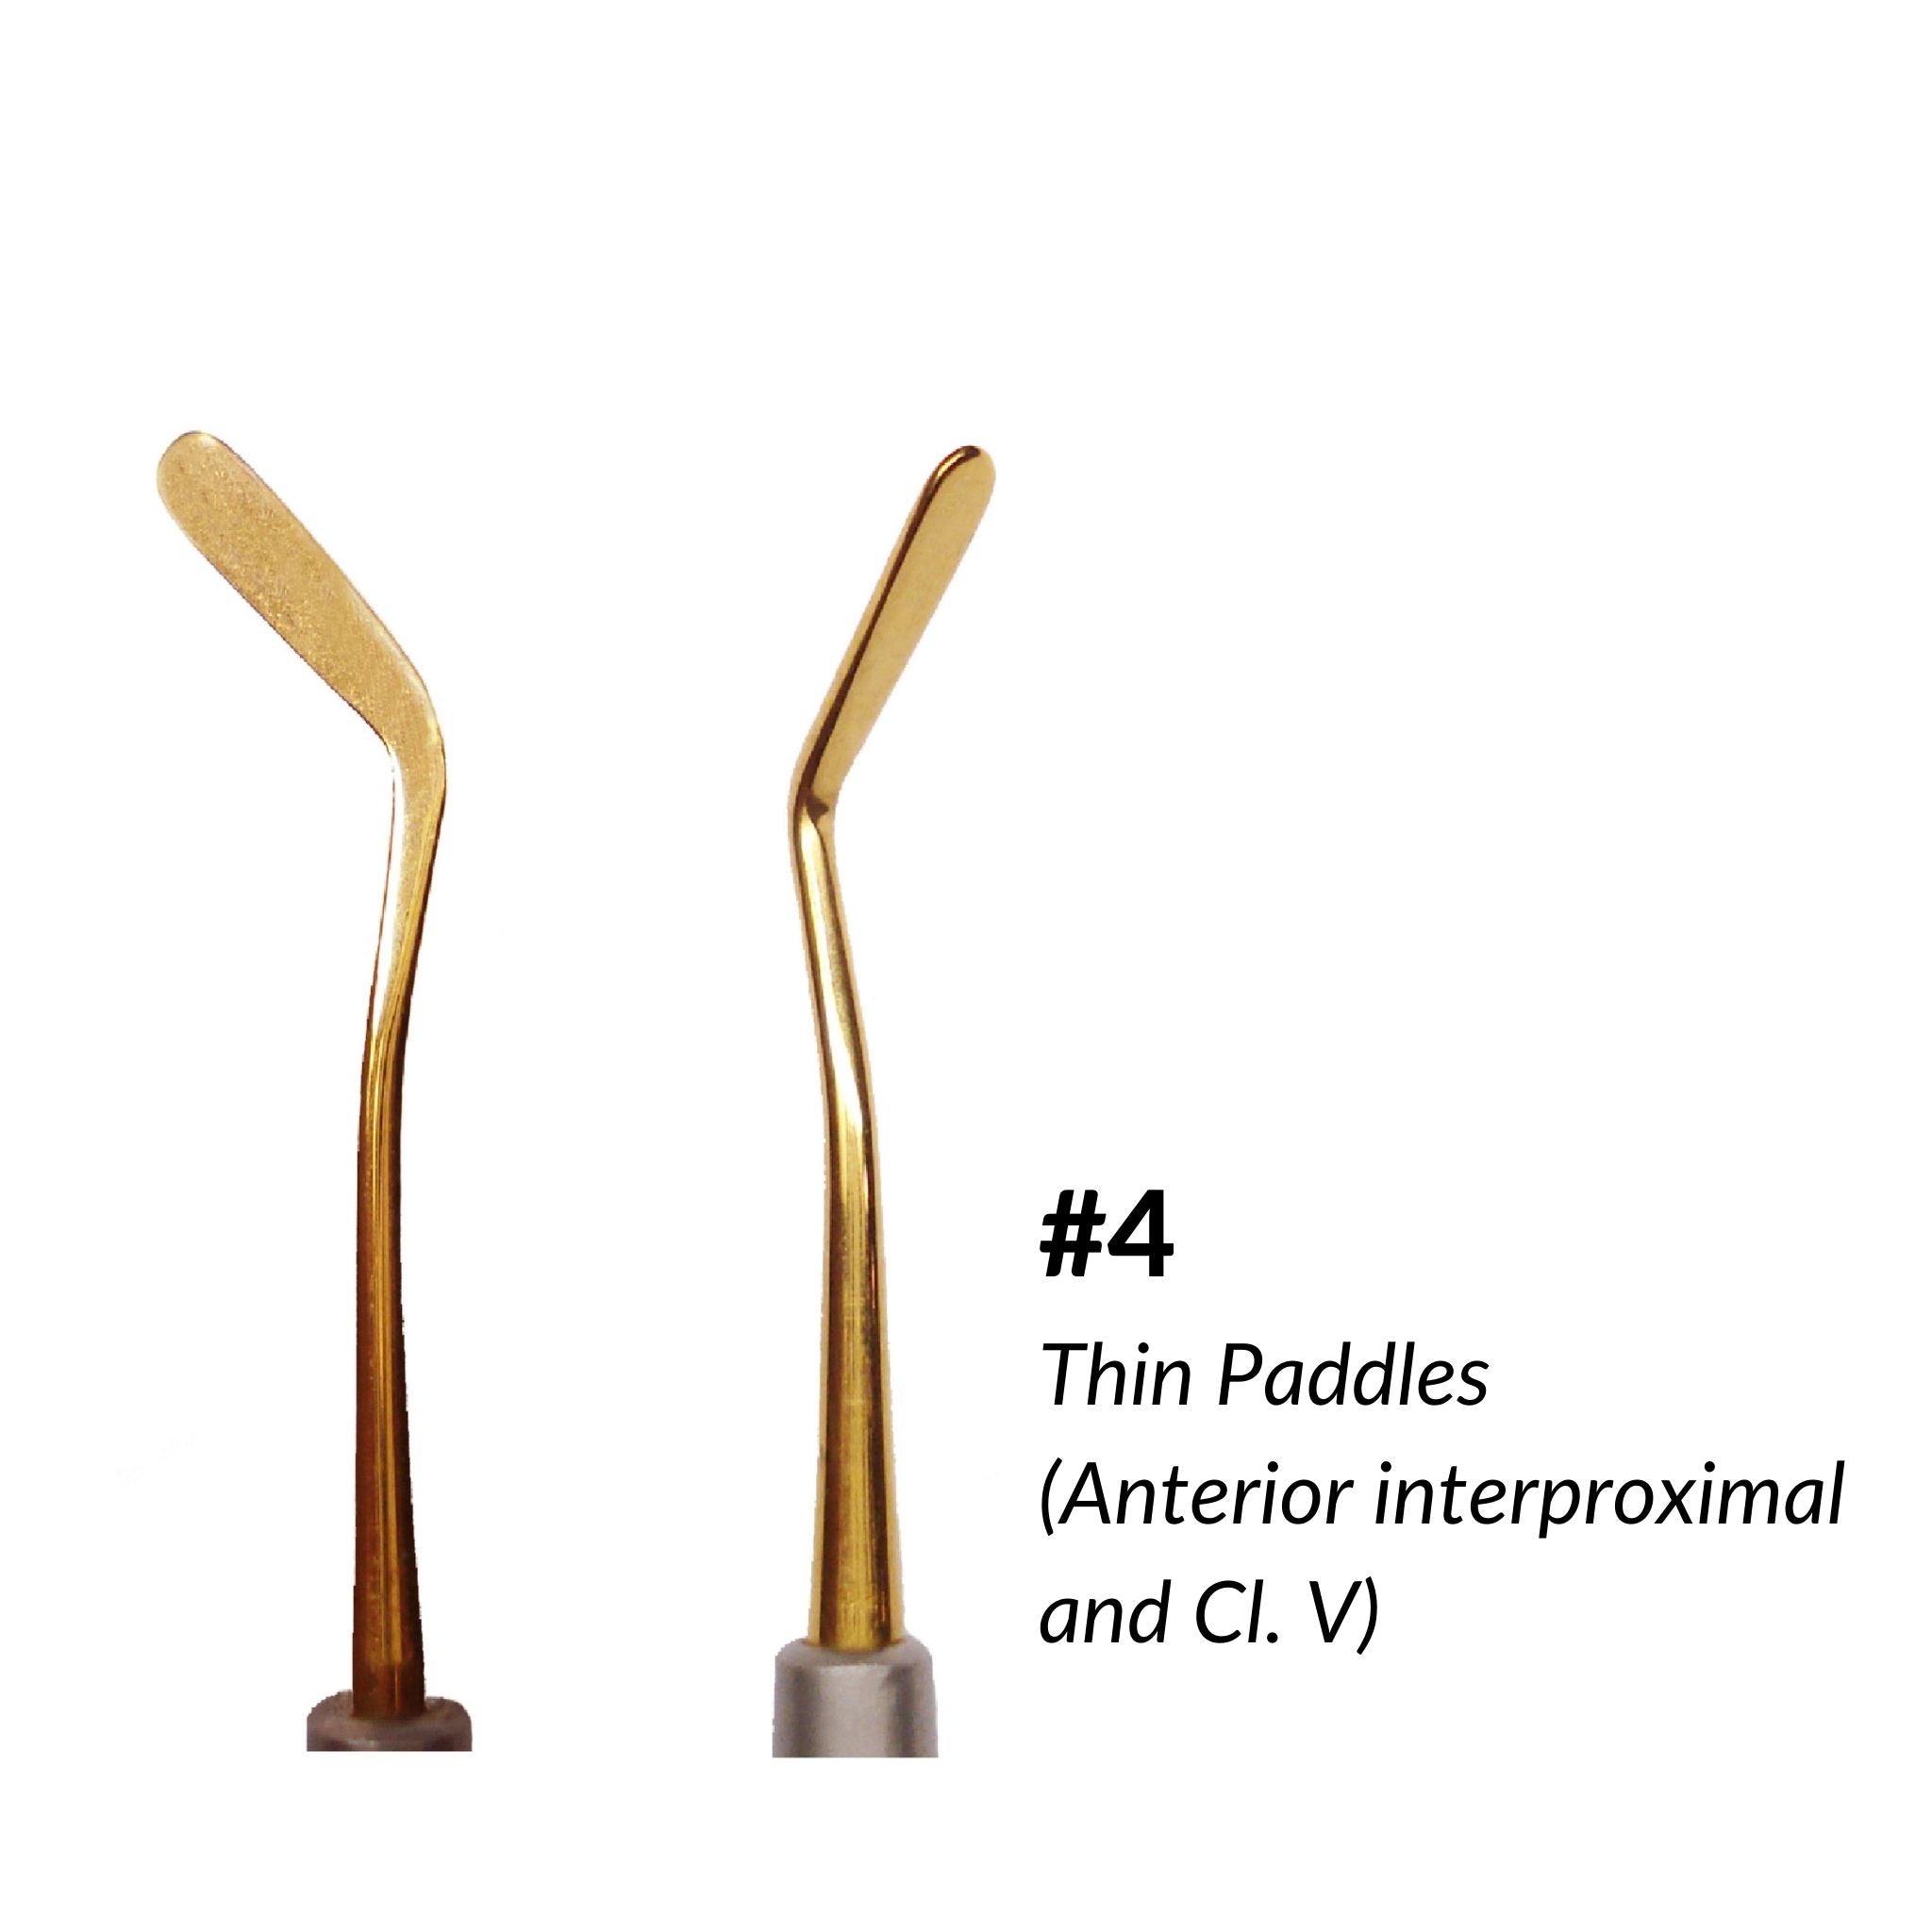
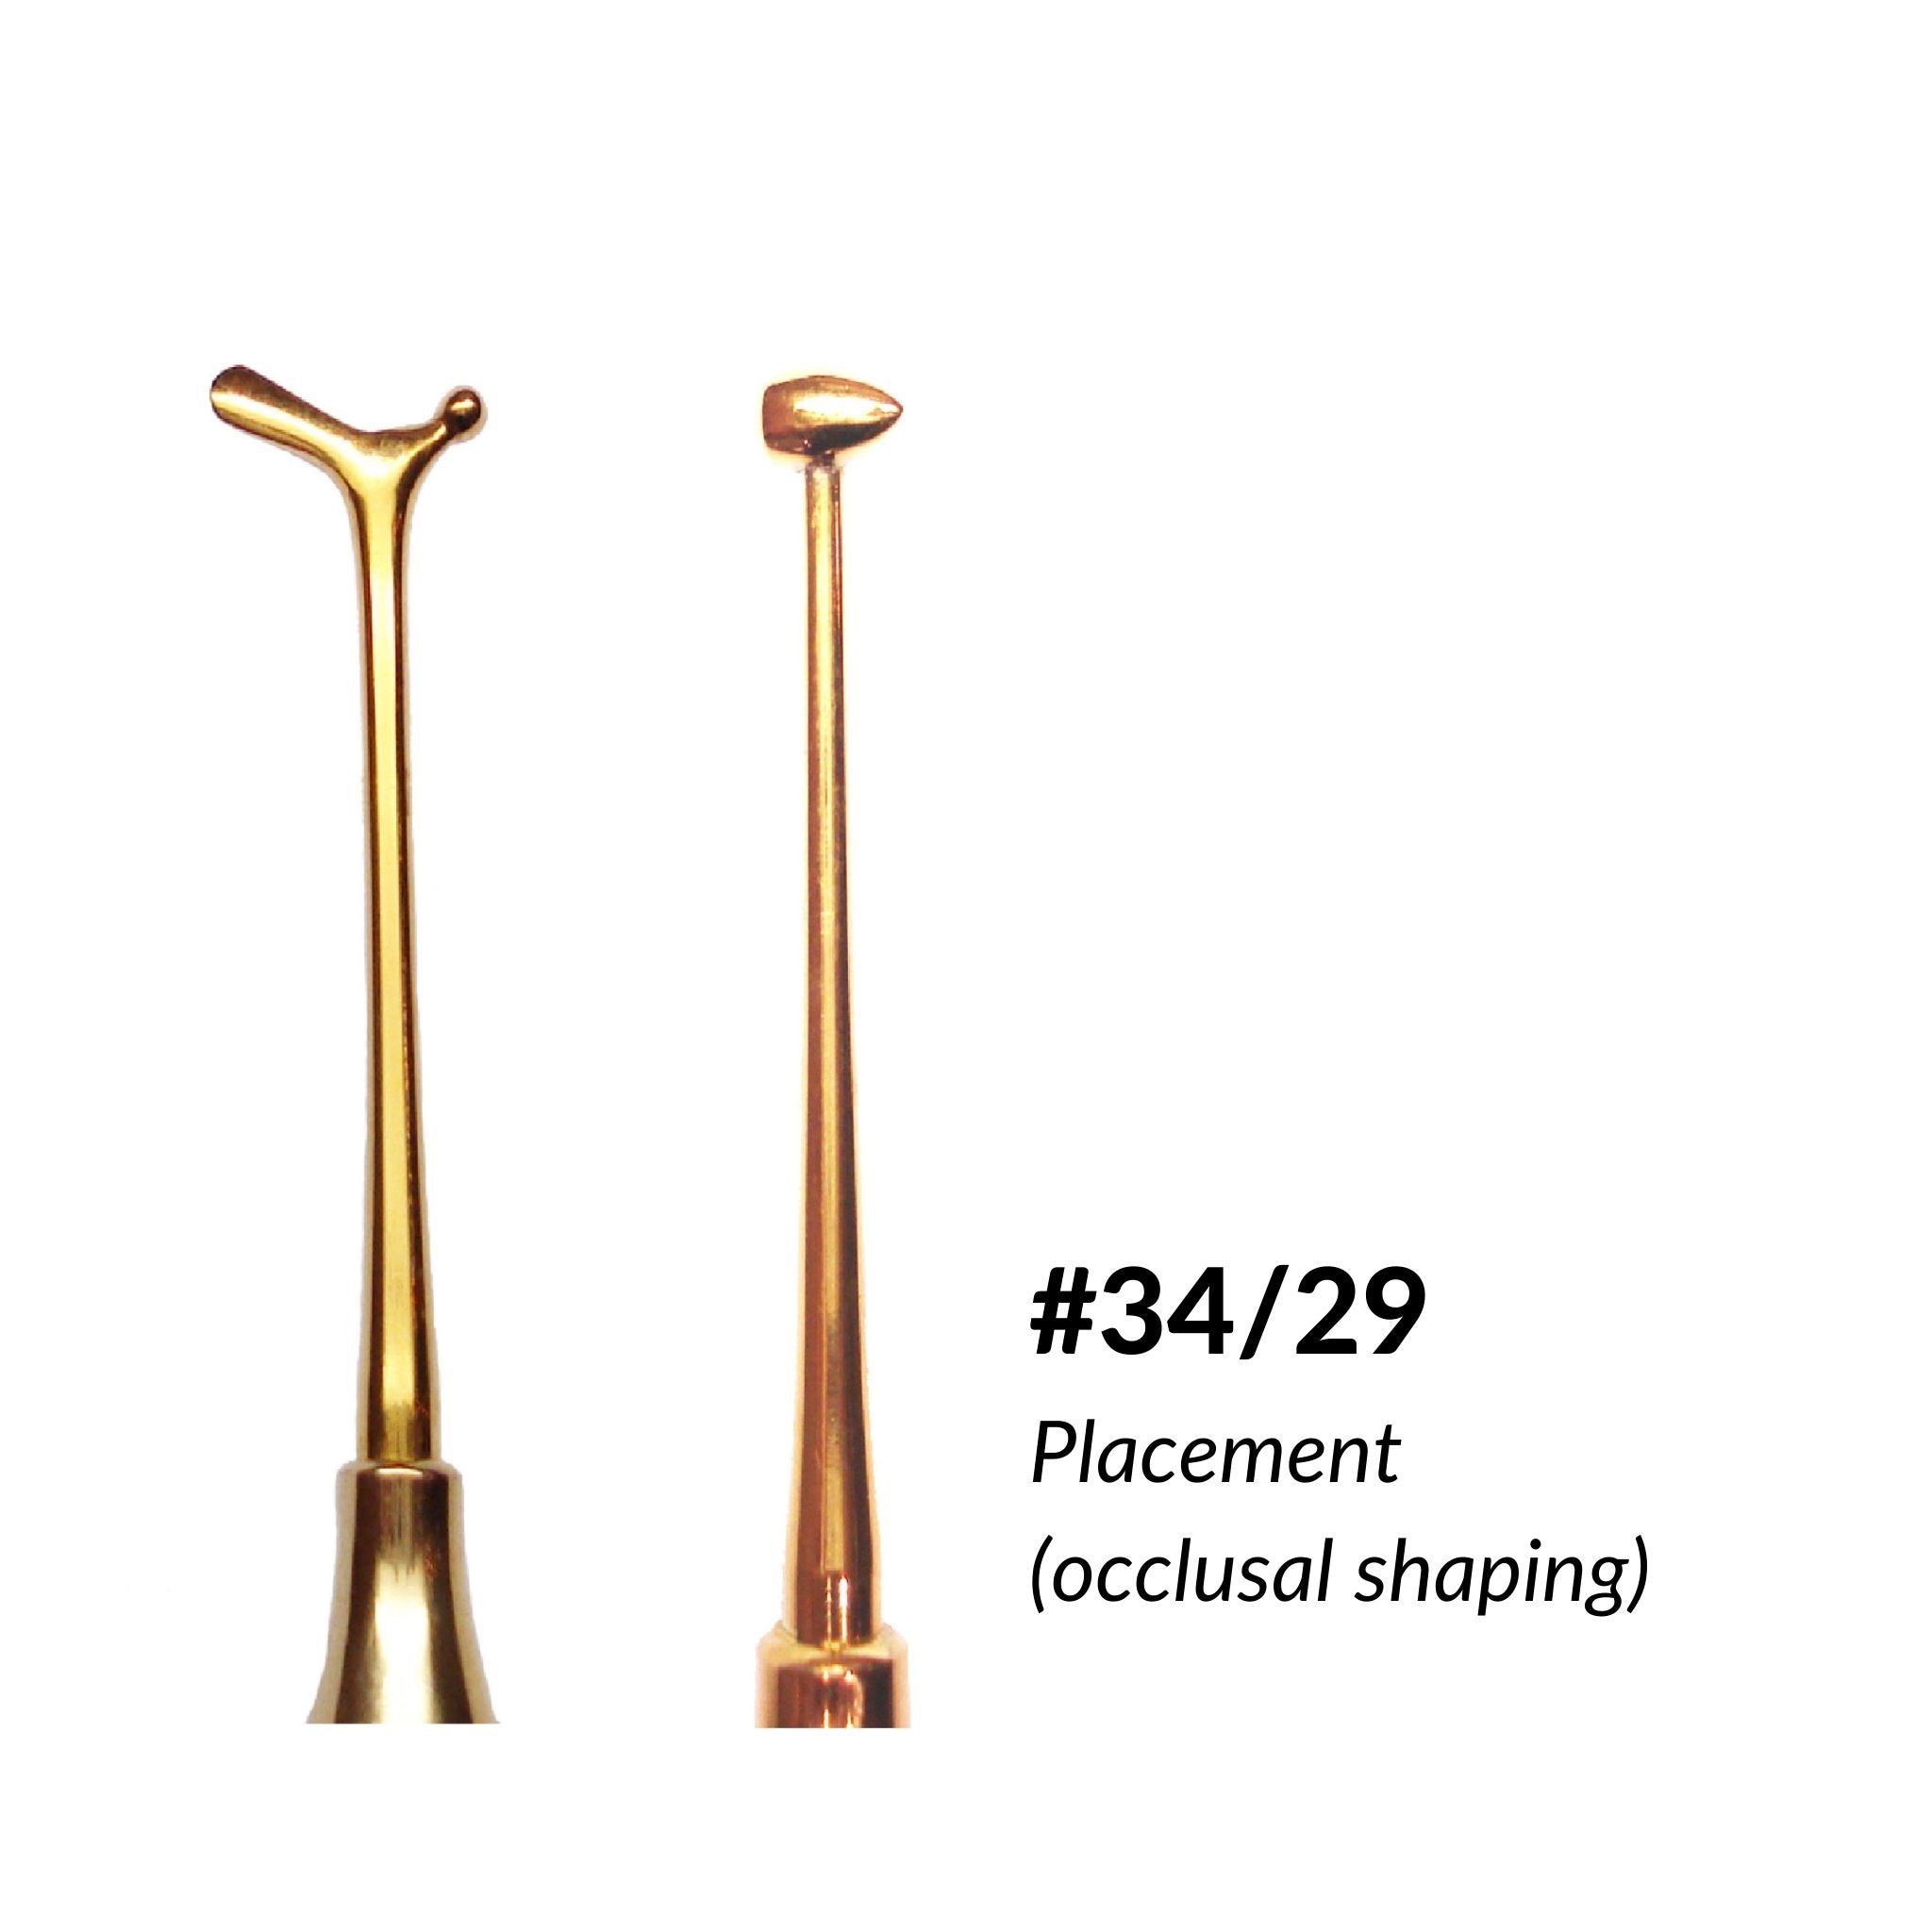
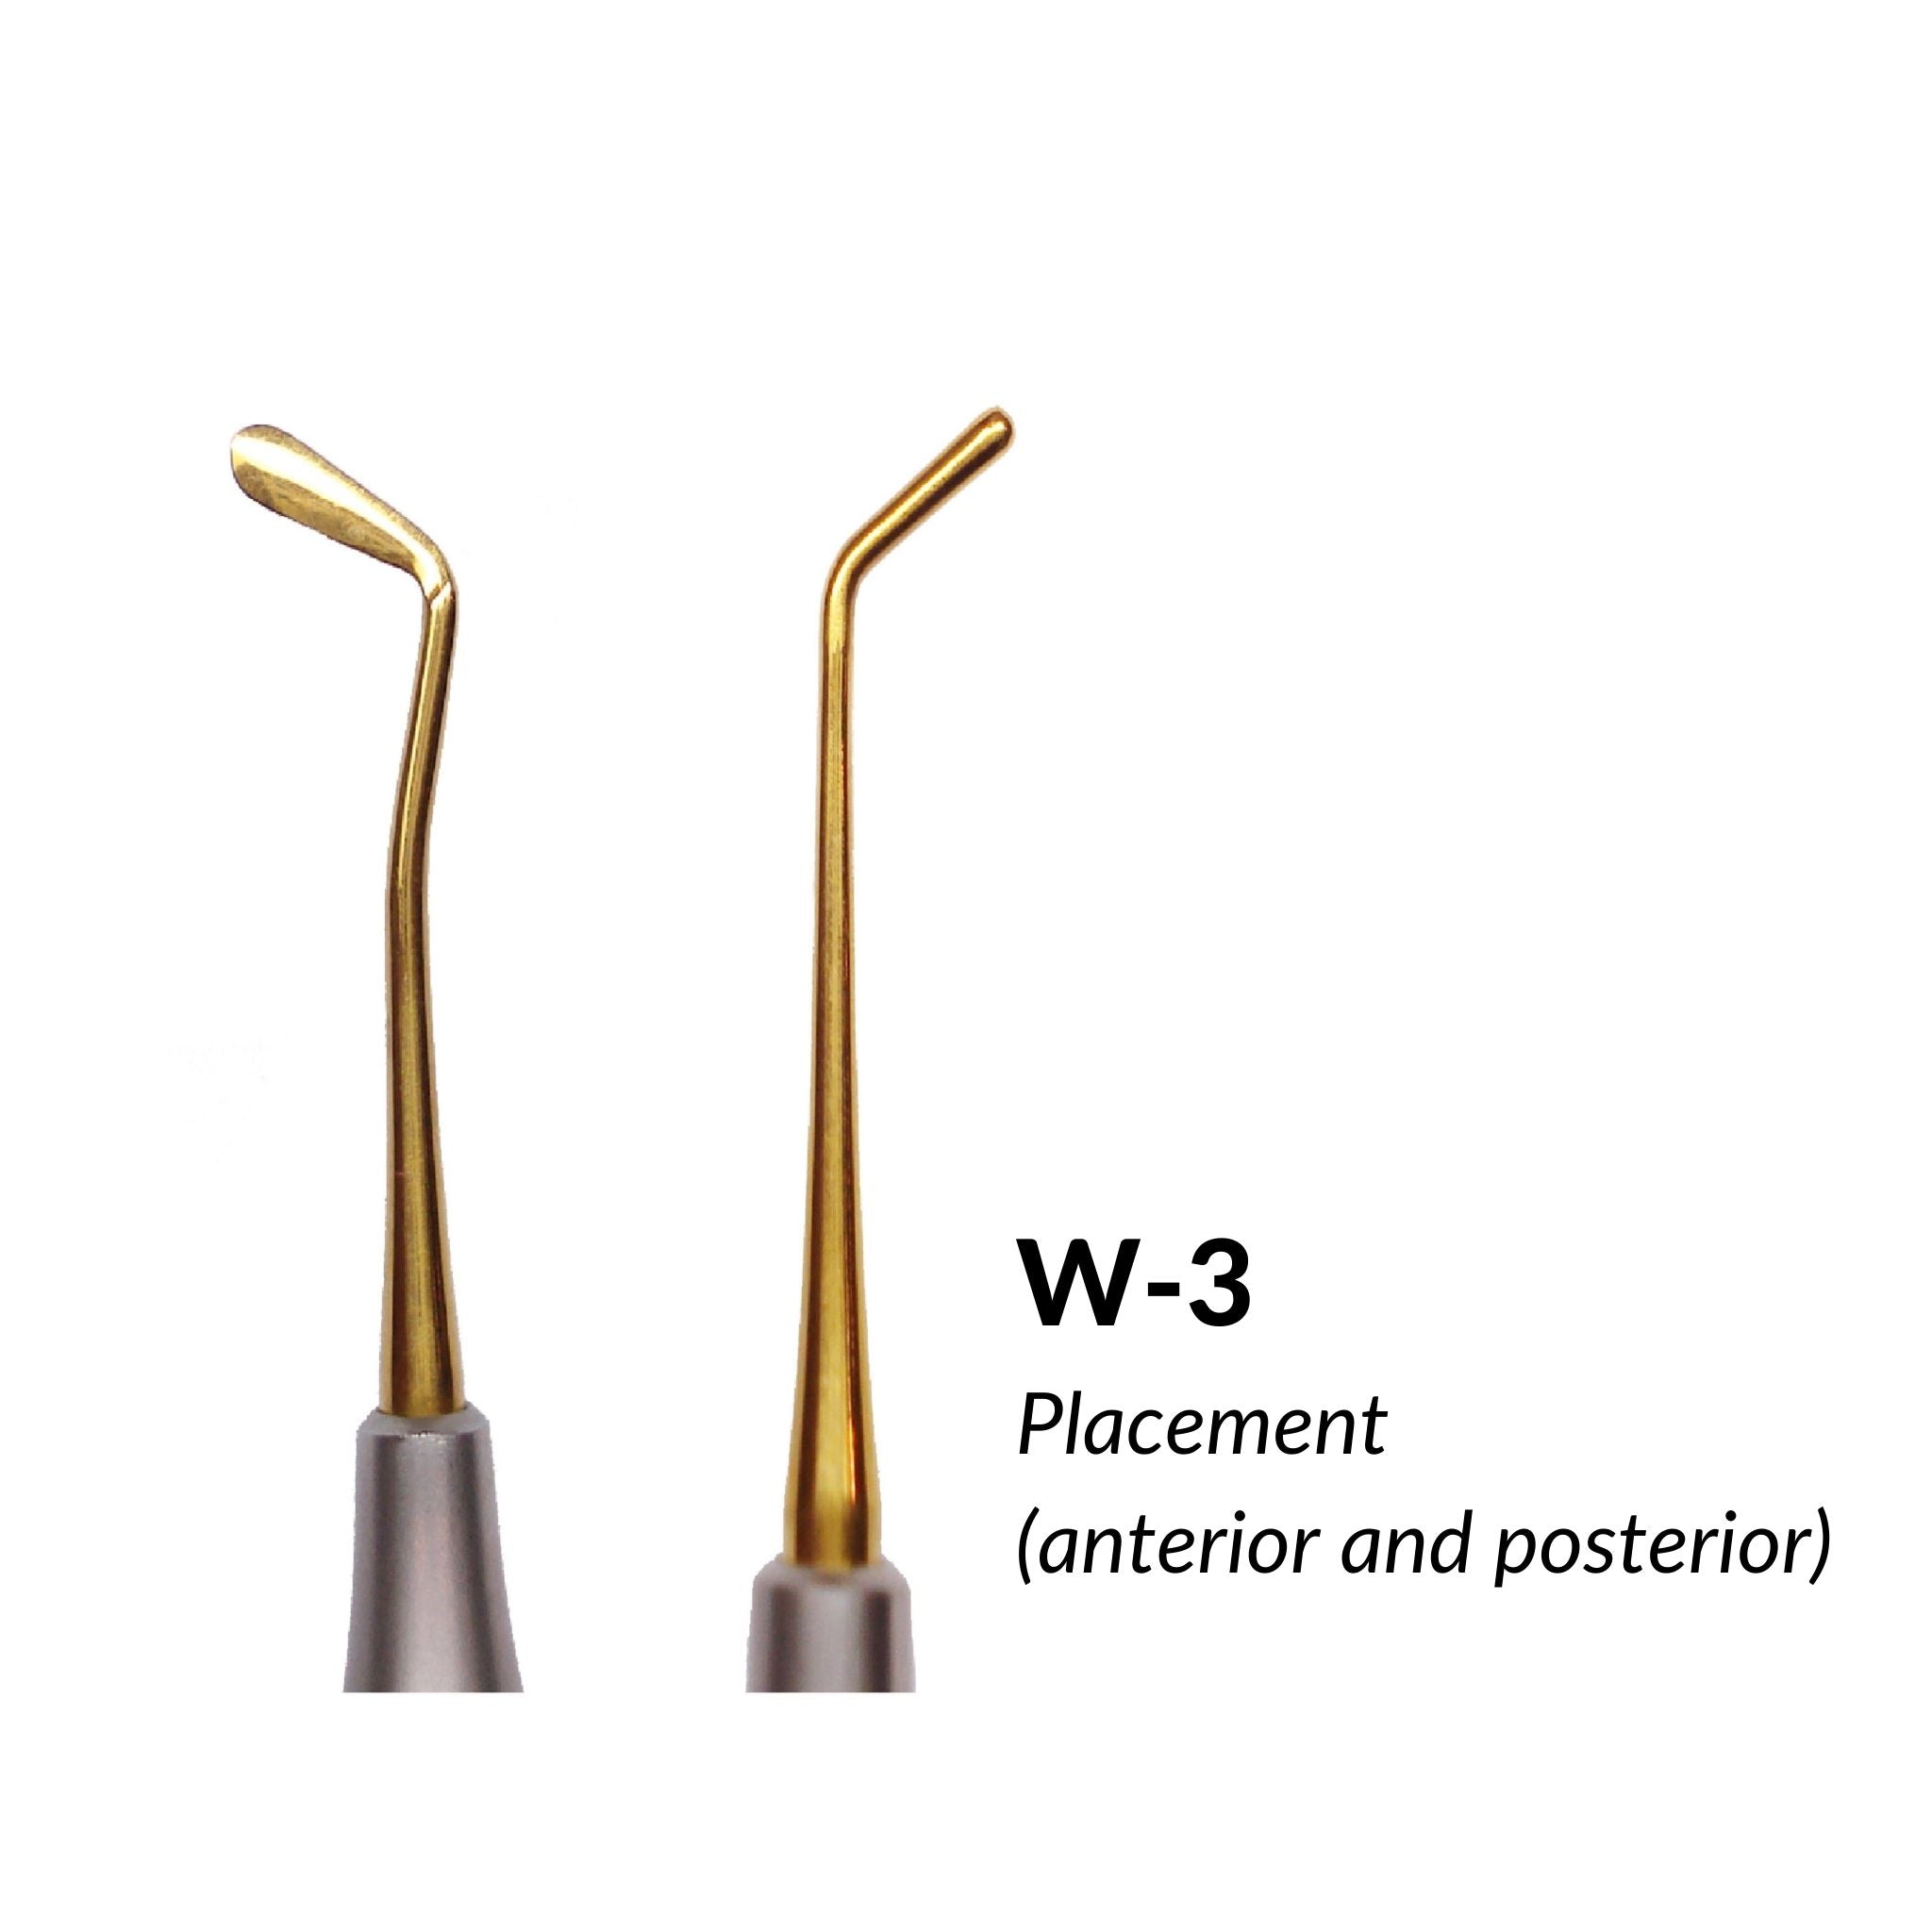
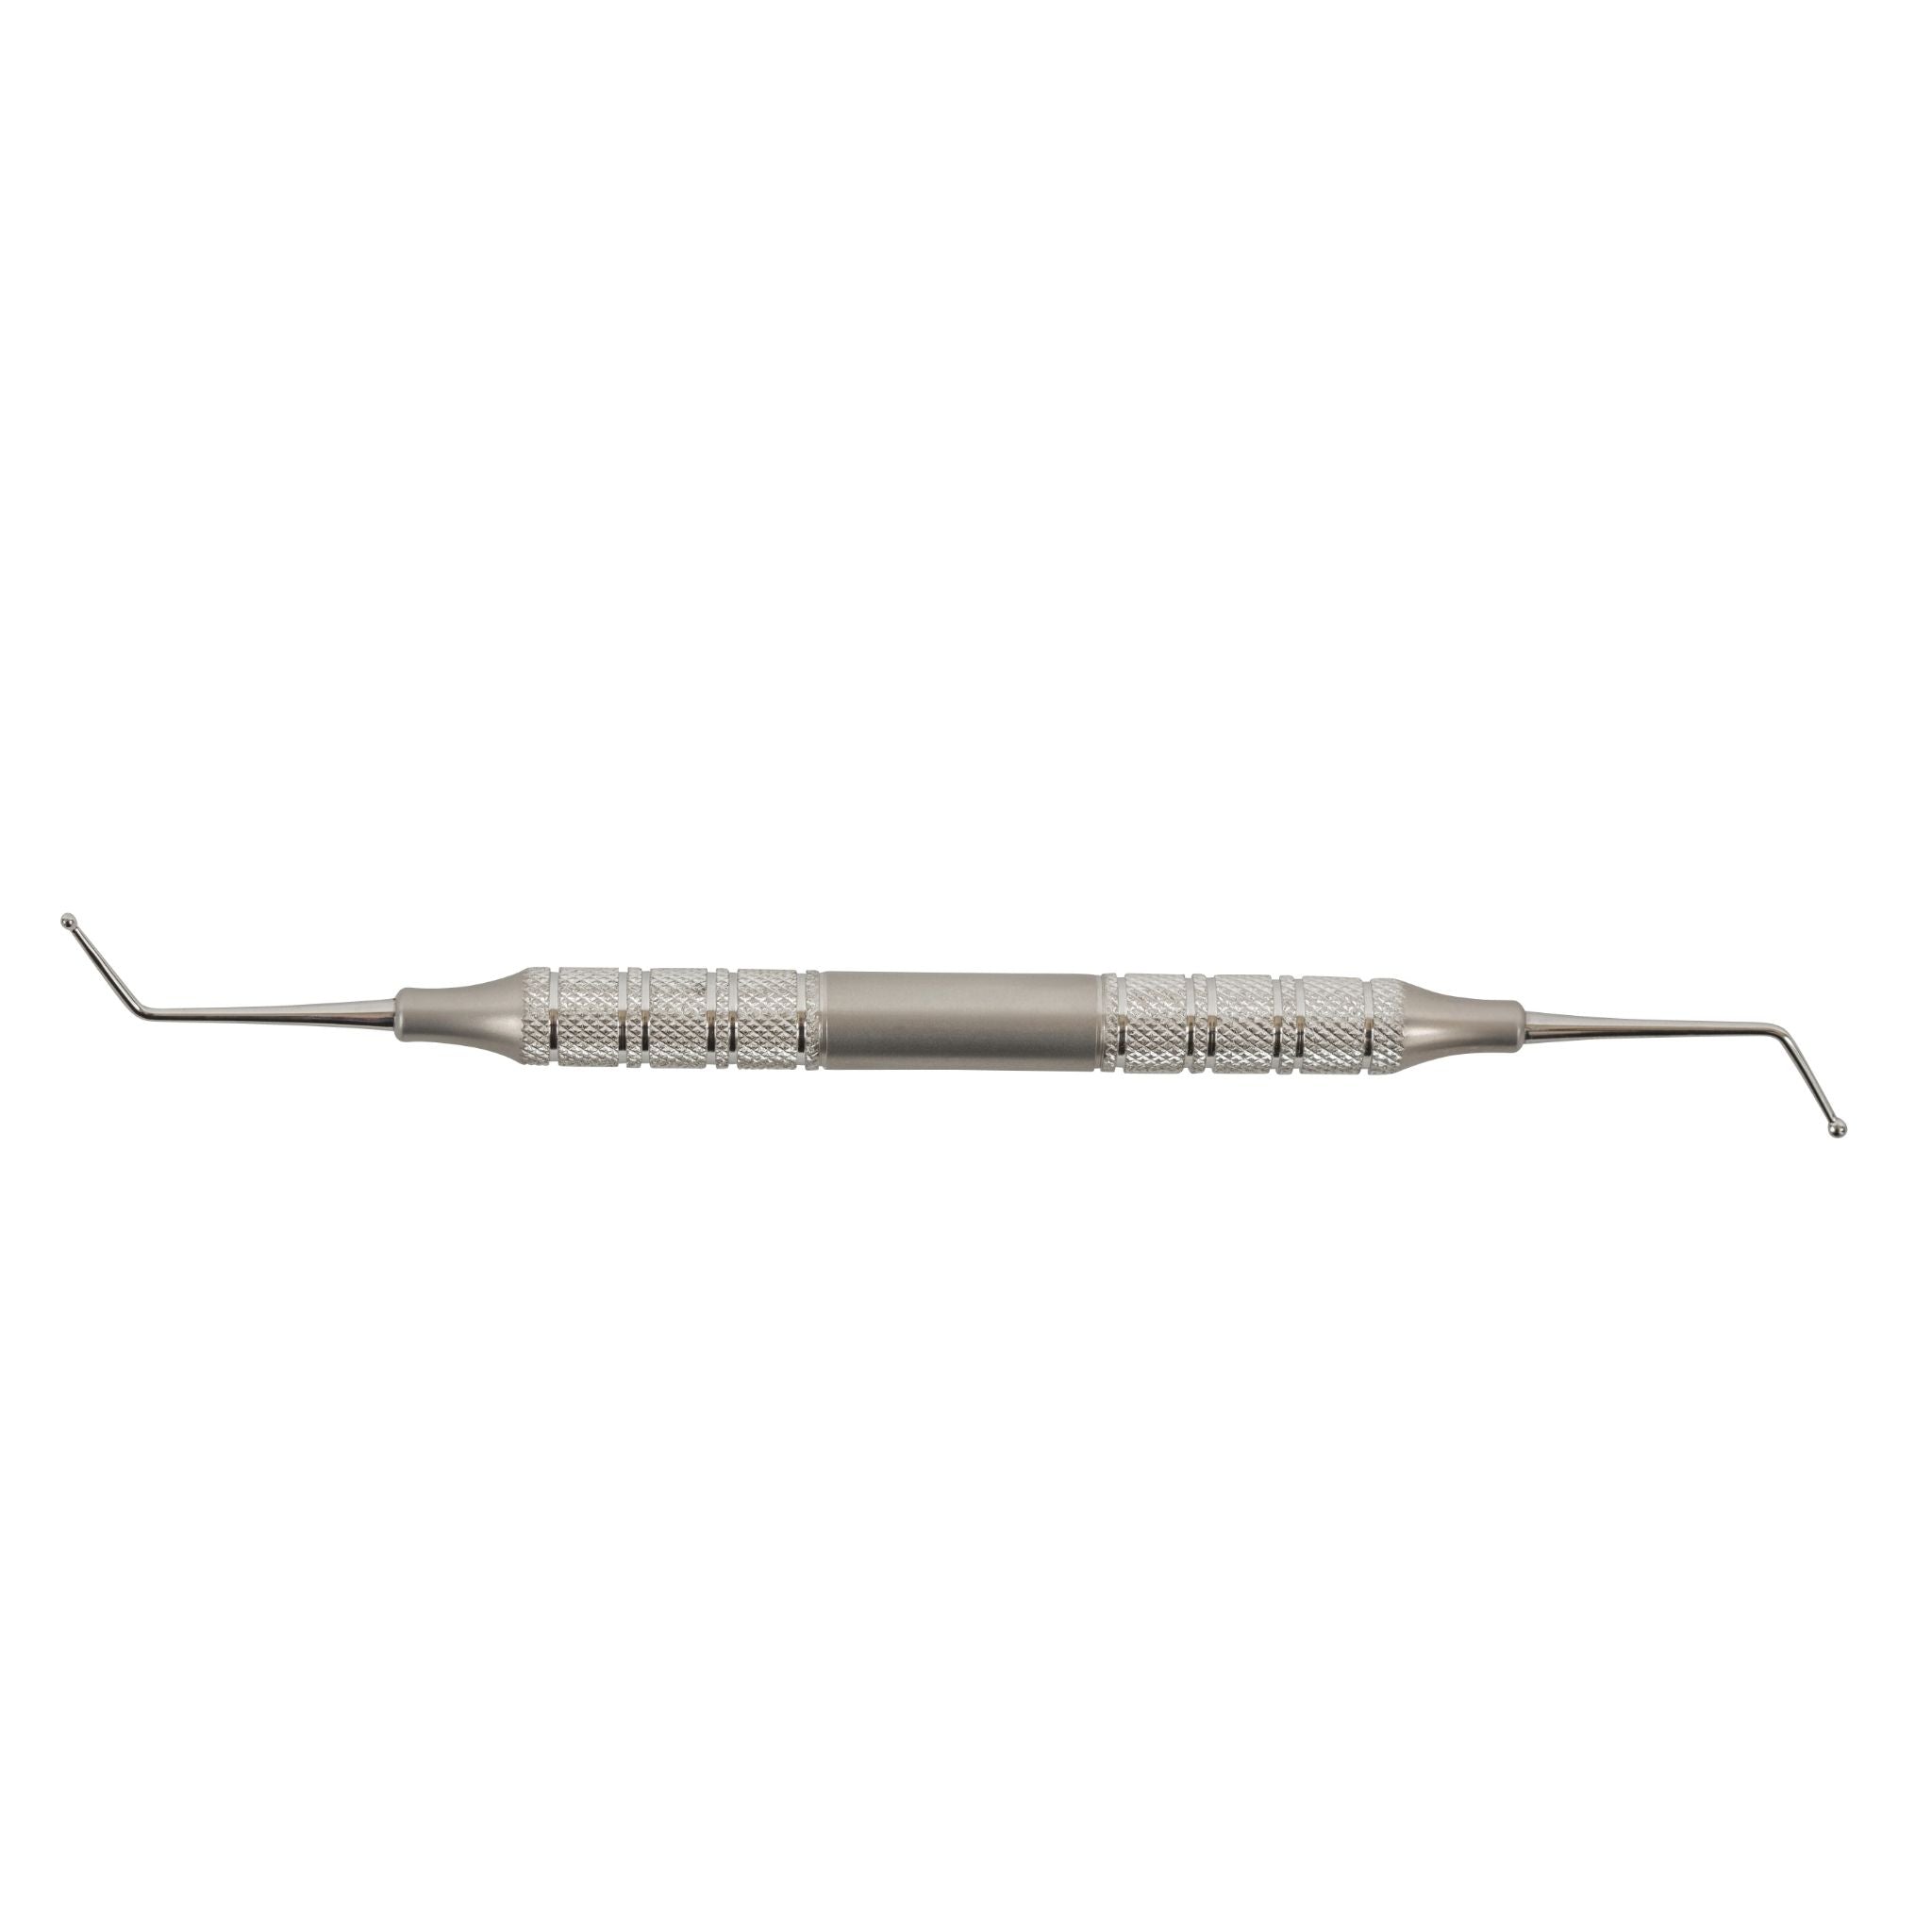
First, you’ll need to upgrade to the best dental composite instrument the industry has ever seen: CompPlus™. This innovative instrument is sweeping the dental world by storm - and once you see it in action, you’ll understand why!
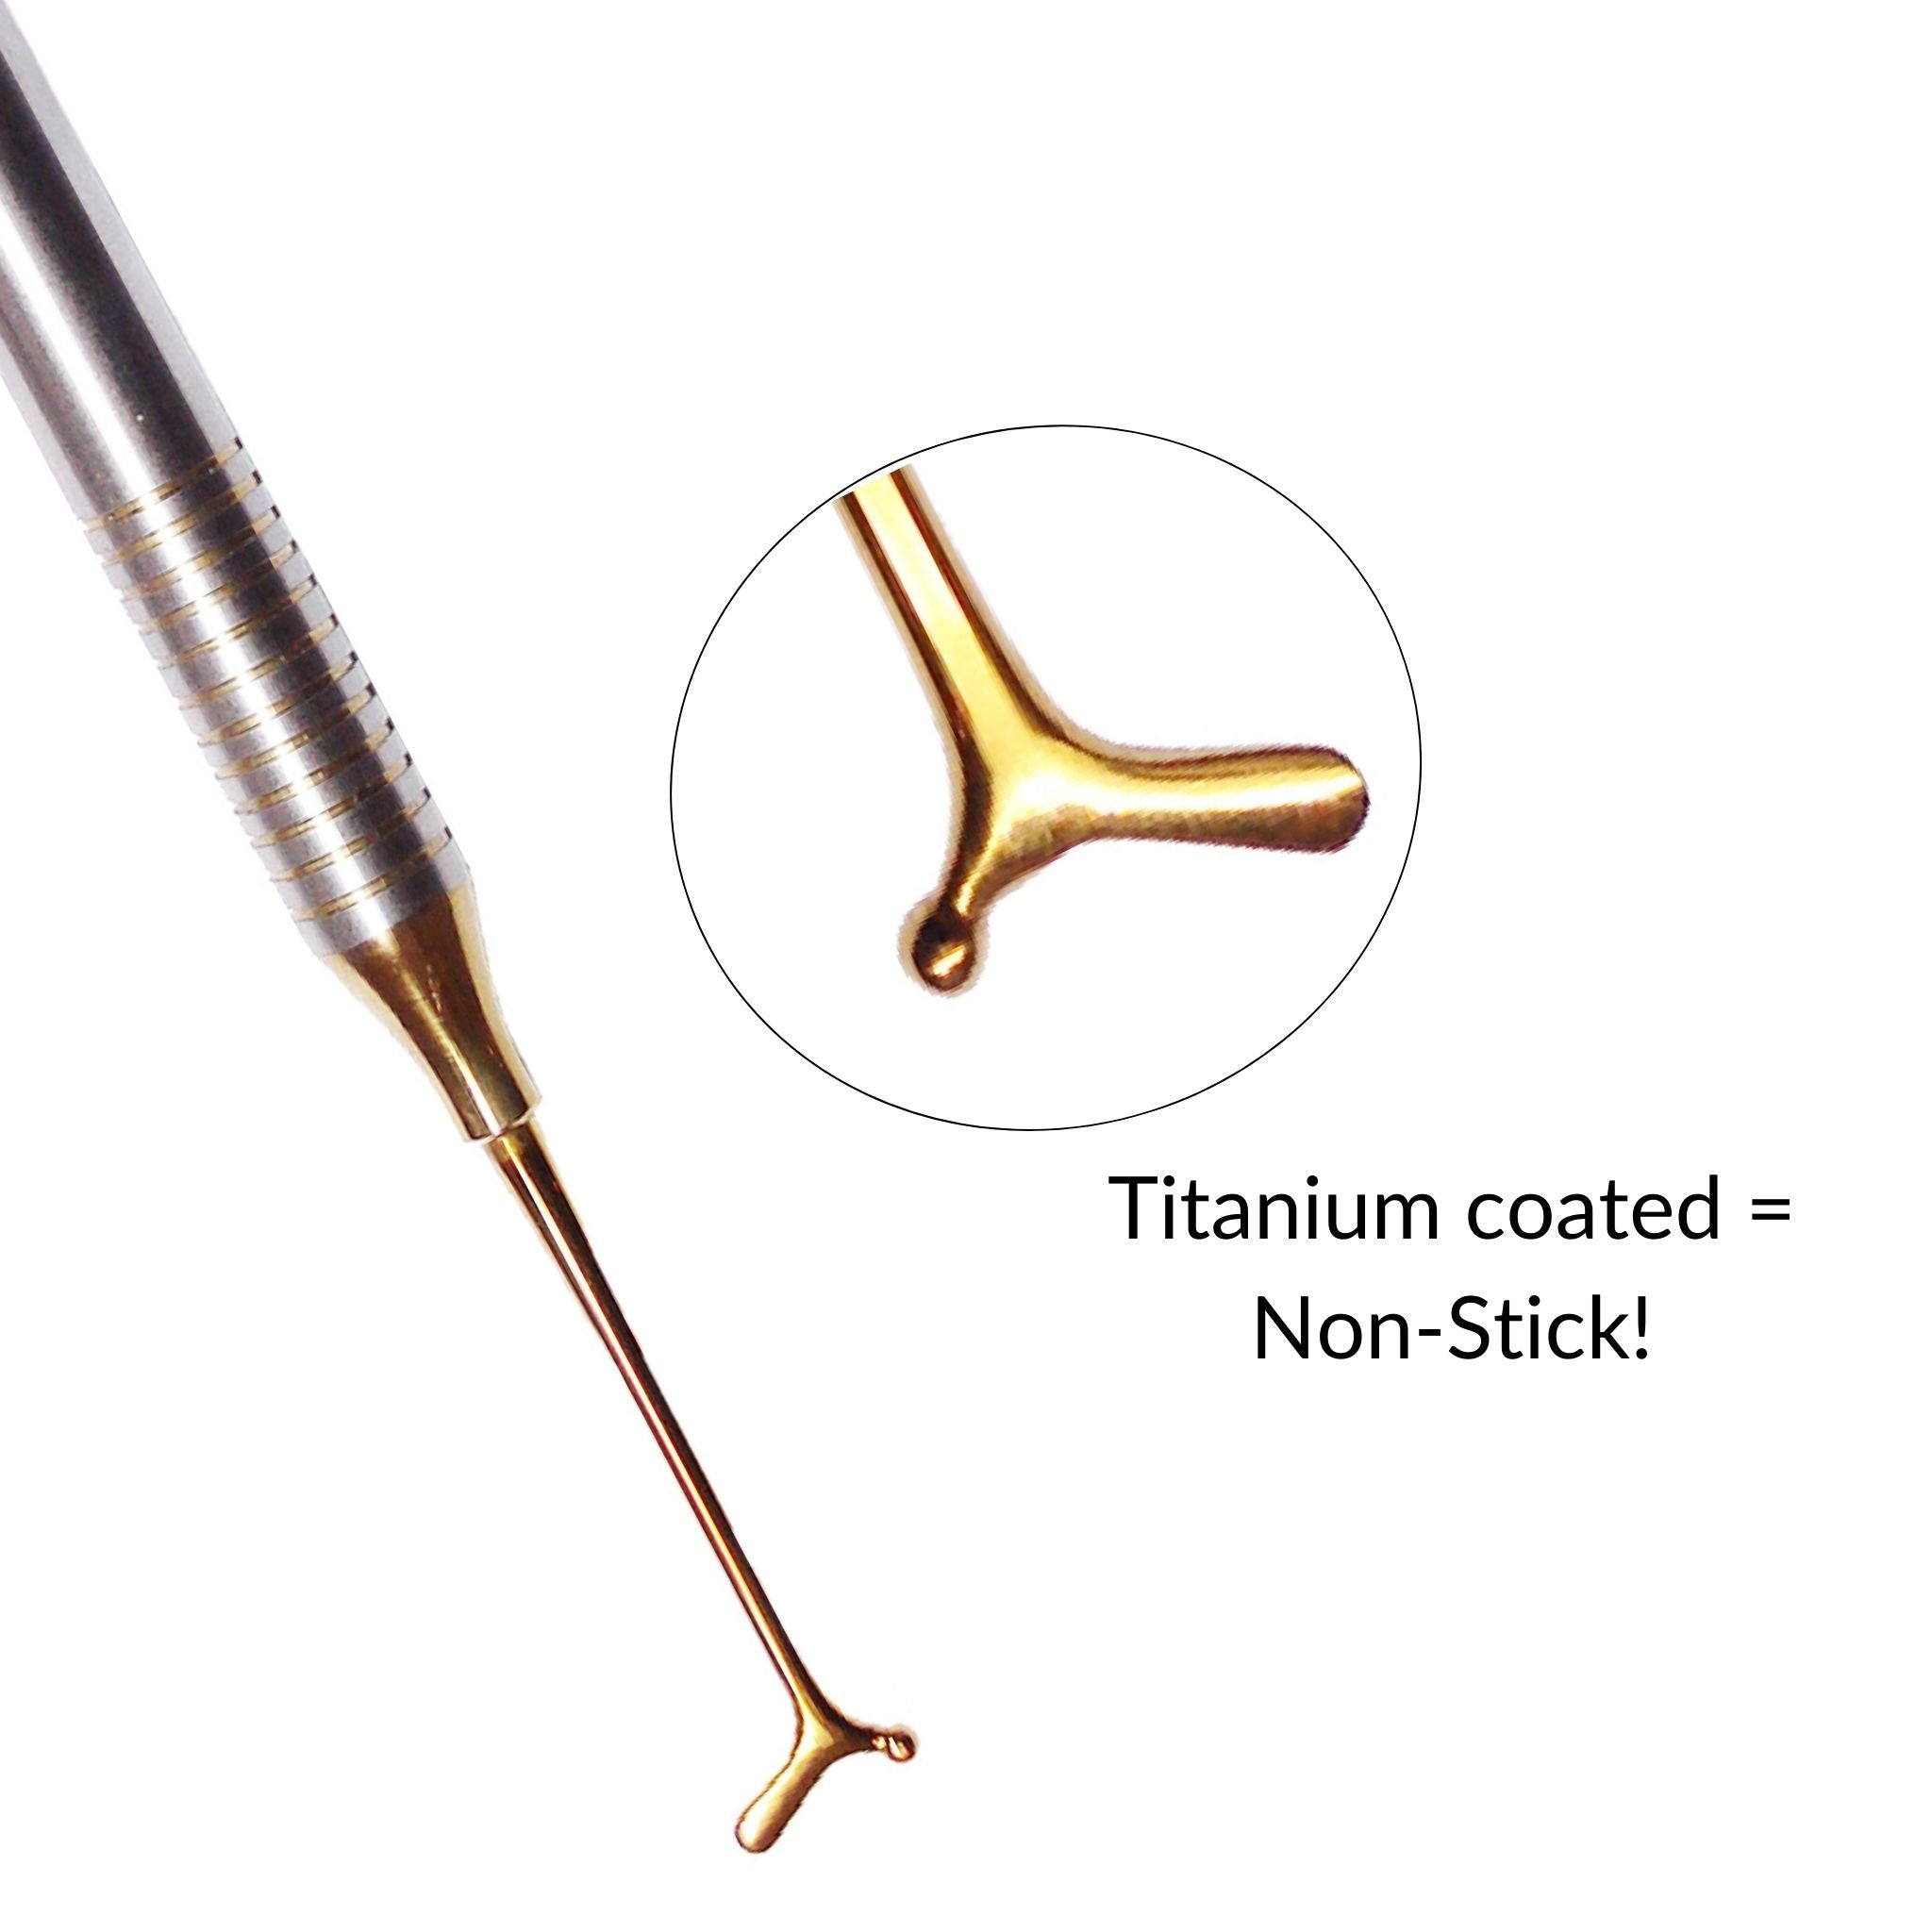
The titanium coating on these dental composite instruments is key to eliminating the frustrating pull-back once and for all. It’s non-stick so you can work quicker and with less frustration along the way. Think about it like this: the more precise you can be with placing your composites, the less time you spend on gross reduction and polishing!
But the CompPlus™ alone isn’t enough to perfect your workflow. You need to pair it with a few other components - including Seamfree. This wetting agent and lubricant makes your composite material completely non-stick, so it becomes much easier to manipulate and shape. It doesn’t change the size or shape of the physical properties of your final restoration, either.
Now, there’s just one more thing missing from the equation - and that’s the actual composite tray set up instrument. Our intuitive Microtray® eliminates the need to reach long distances for your tools and materials as it brings your workbench right to your hand! What’s more, this ergonomic method helps eliminate back and joint pain associated with constantly reaching for things. It’s faster, more efficient, and more professional.
If you want to grab all of these at once in one easy purchase, we have an incredible composite bundle that includes everything you need to take your fillings to the next level. Once you have everything in place, here’s how the individual components work together to create the most efficient process possible.


How it All Works:
Now it’s just a matter of piecing all these components together and perfecting your dental composite restoration technique. Really, once you have a non-stick composite instrument, the process becomes so much simpler and more enjoyable for both you and your patient!
- Prep the tooth then attach the Microtray® to your glove. Attach the gauze and two microbrushes to the tray. This ergonomic composite tray set up allows you to work more efficiently by keeping your tools and materials within easy reach, reducing the need for long-distance reaching and minimizing back and joint pain.
- Etch the tooth, apply bonding agent, then add composite material as usual.
- Place a small amount of Seamfree into your second well and, using the second microbrush, apply a small amount of wetting agent onto the top surface of the newly placed composite material. Pack and adapt the increment as desired. Light cure all increments as usual.
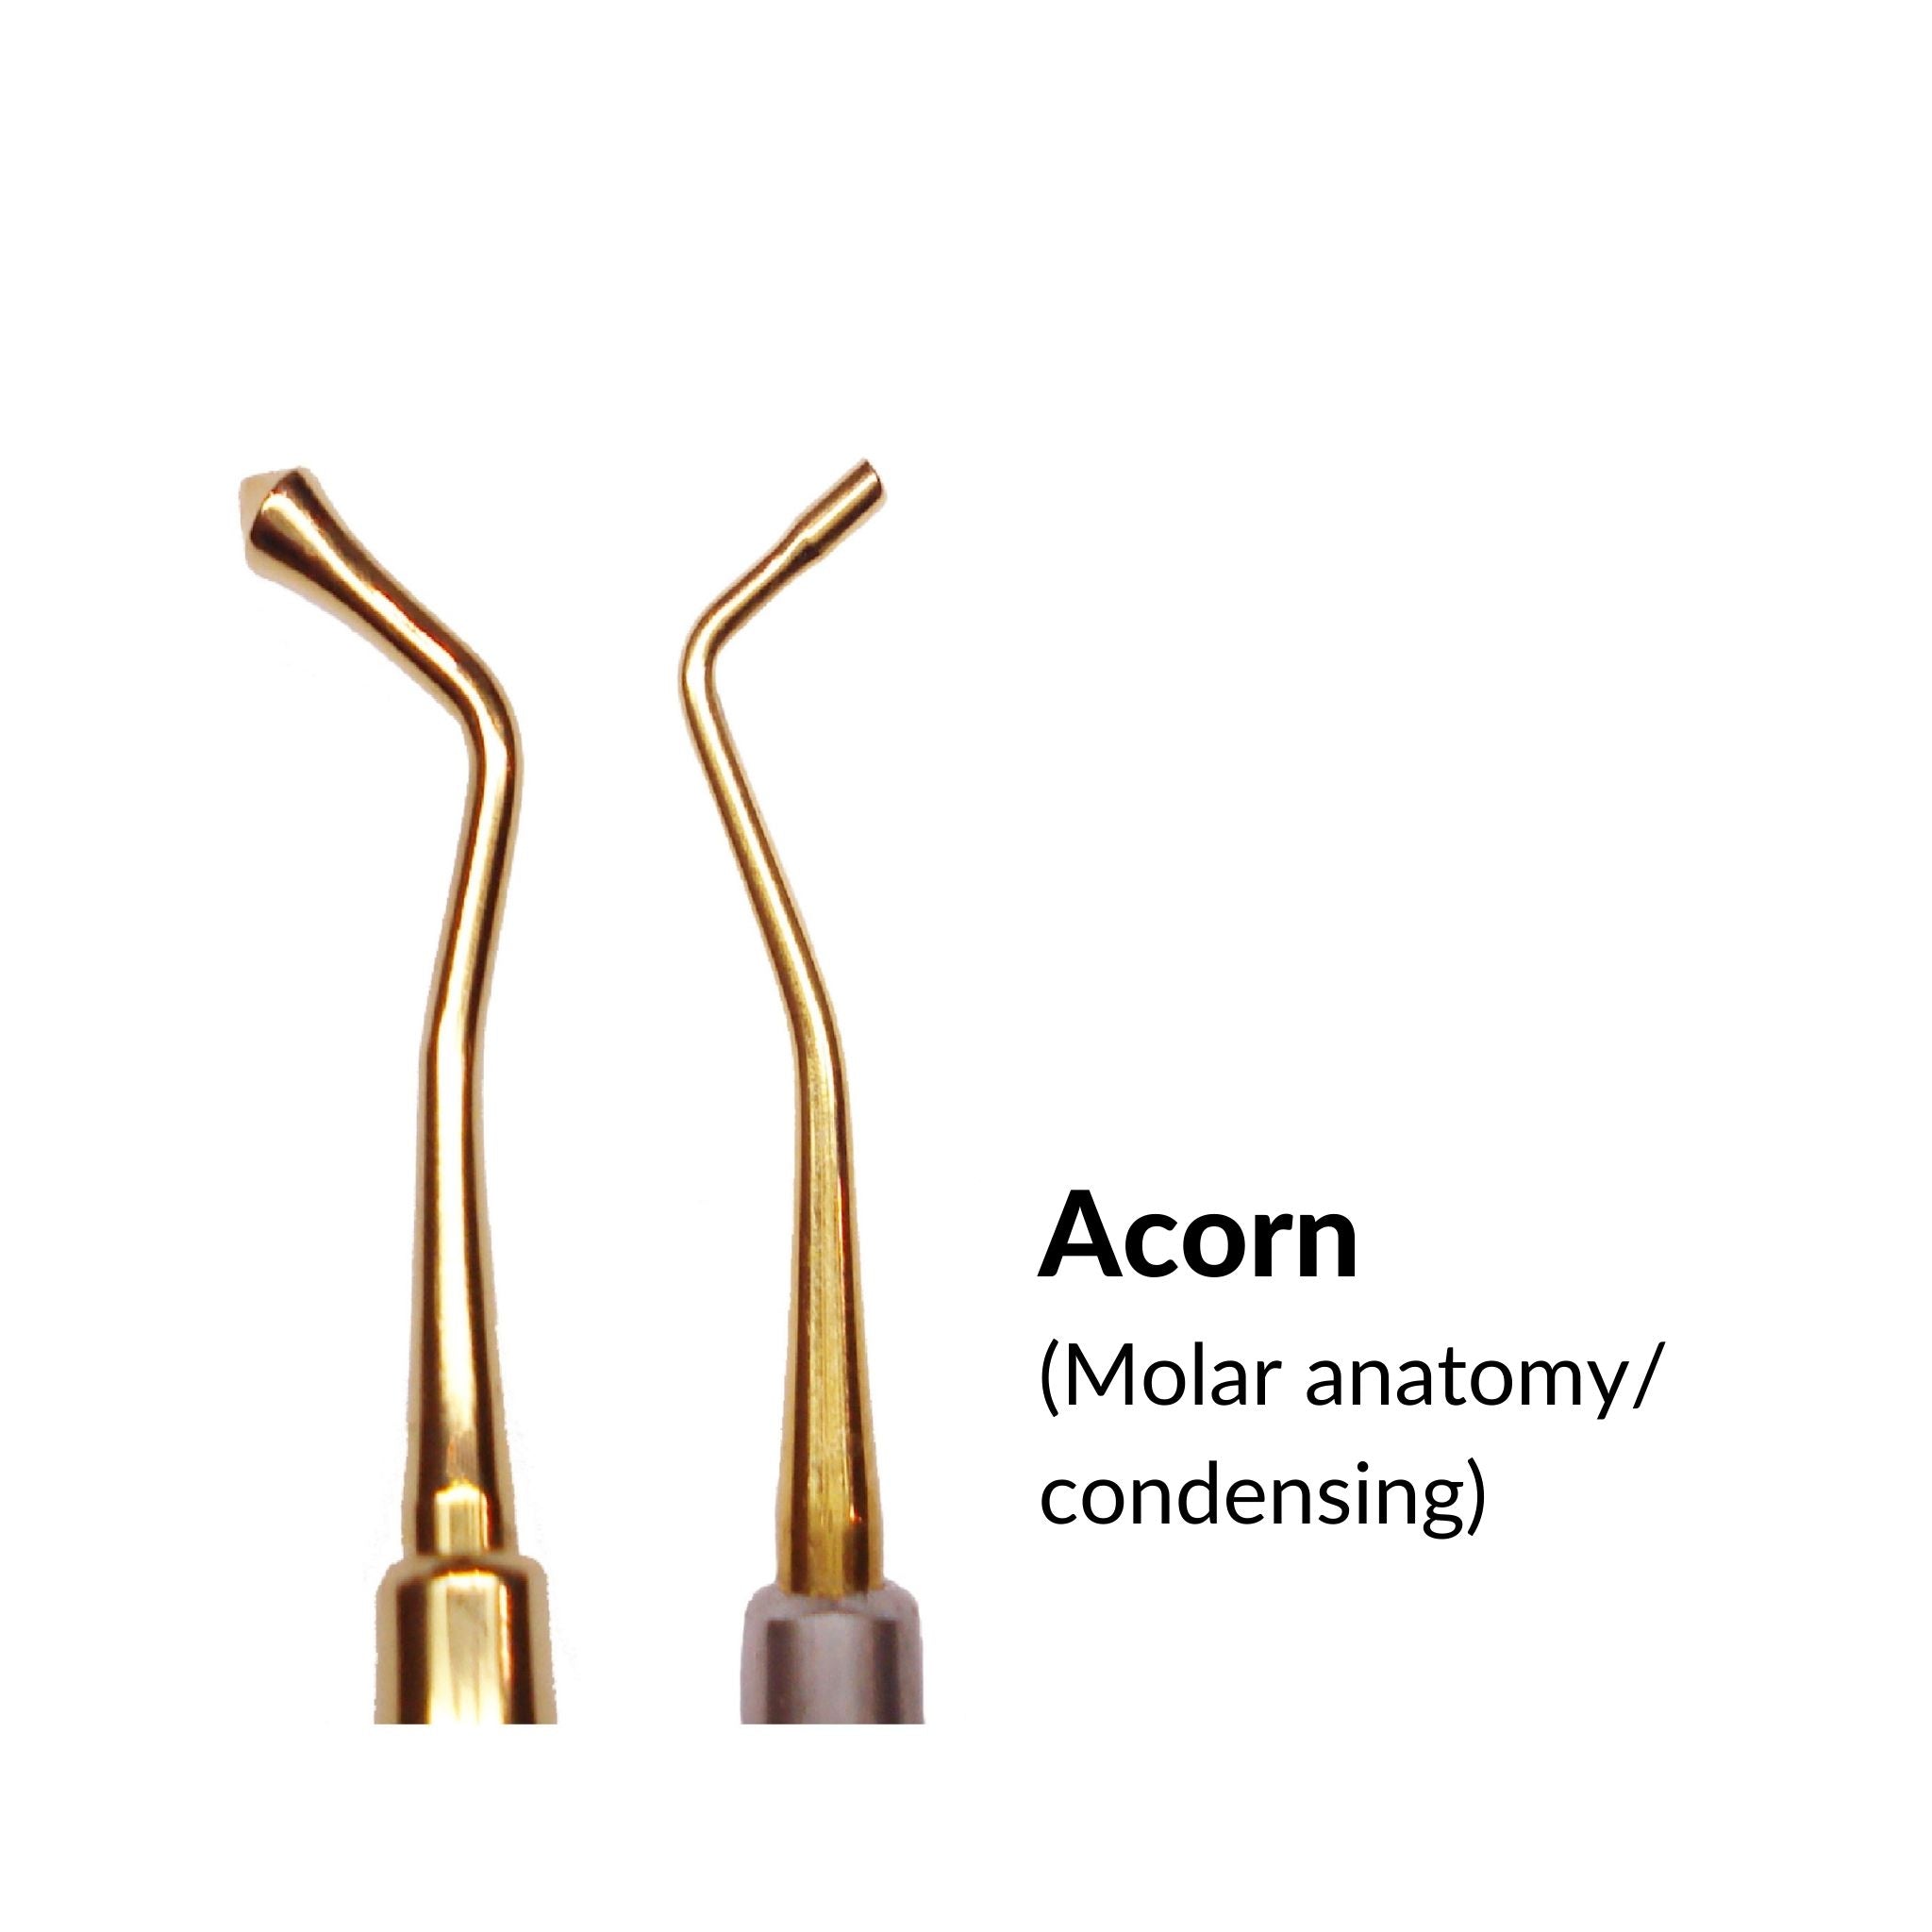
- Shape the last layer of the composite as close to the final desired result as possible using the appropriate CompPlus™ instruments. Using Seamfree will enable precise placement and sculpting of the composite without sticking or pull-back.
- After the composite has been placed and shaped, proceed with the final light-curing process as per the manufacturer's instructions. Once the composite is fully cured, make any necessary final adjustments and polish the restoration to achieve a seamless, natural-looking result. If you’ve followed our advice thus far, this will be the quickest and easiest part of this five-step process!
That’s it - just like that, you’ve perfected your composite instruments set up! You’ll wish you’d discovered this solution at the start of your career once you see how much quicker and easier things can be…
Bringing Our Composite Tray Set Up Instruments Conversation to a Close
While you may currently dread composite work because it is so inefficient and frustrating, it’s about to get a whole lot easier with the help of ArtCraft Dental. We hope our breakdown on your new and improved composite tray set up instruments process enhances your workflow and helps you save time and energy while providing better patient outcomes.
But, as you may already know, the tools we’ve described today are just a few of the incredible inventions awaiting you in our catalog. You can overhaul your instruments and propel your practice into the future at ArtCraft Dental.
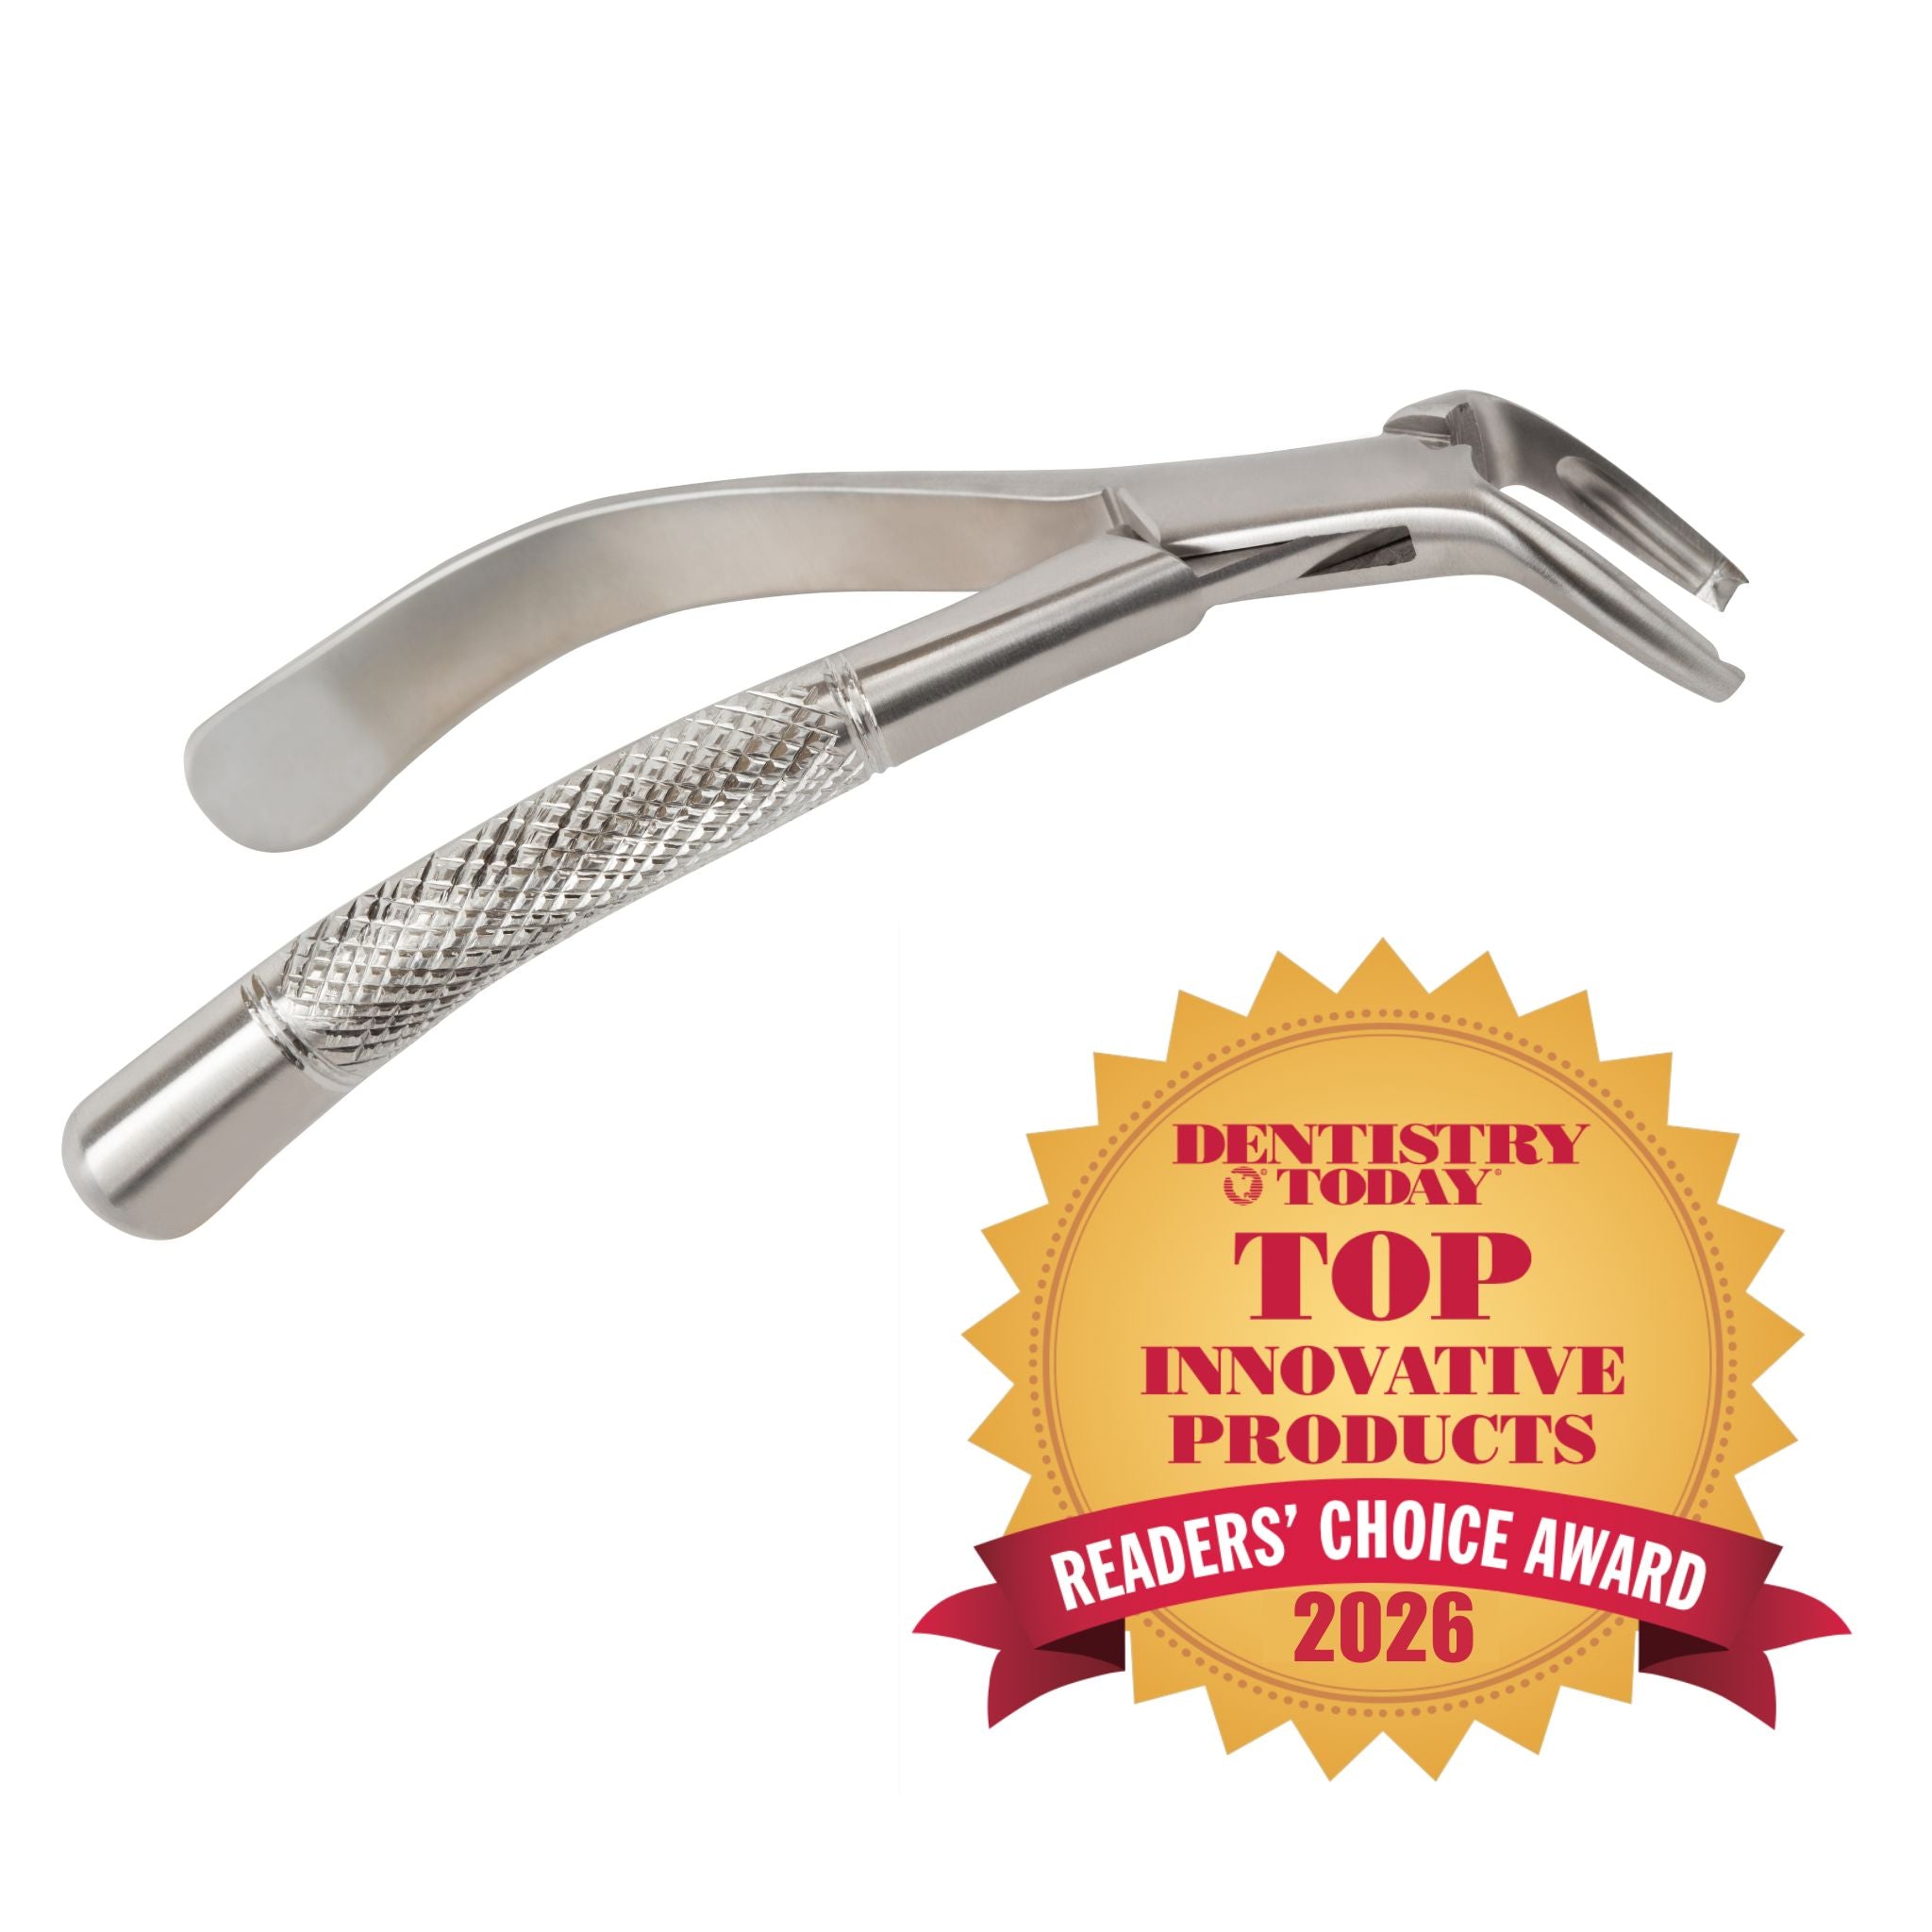
Explore our dental elevator tools, temporary crown remover, crown remover dental, dental forceps, dental needle holders, and everything else we have in store for you in our dental supply store.
With quality materials that are built to last, ergonomic designs that actually help you reach your full potential, direct to dentist pricing, and unbeatable customer support every step of the way, it doesn’t get any better than this! See firsthand why our brand is synonymous with the best dental instruments today.